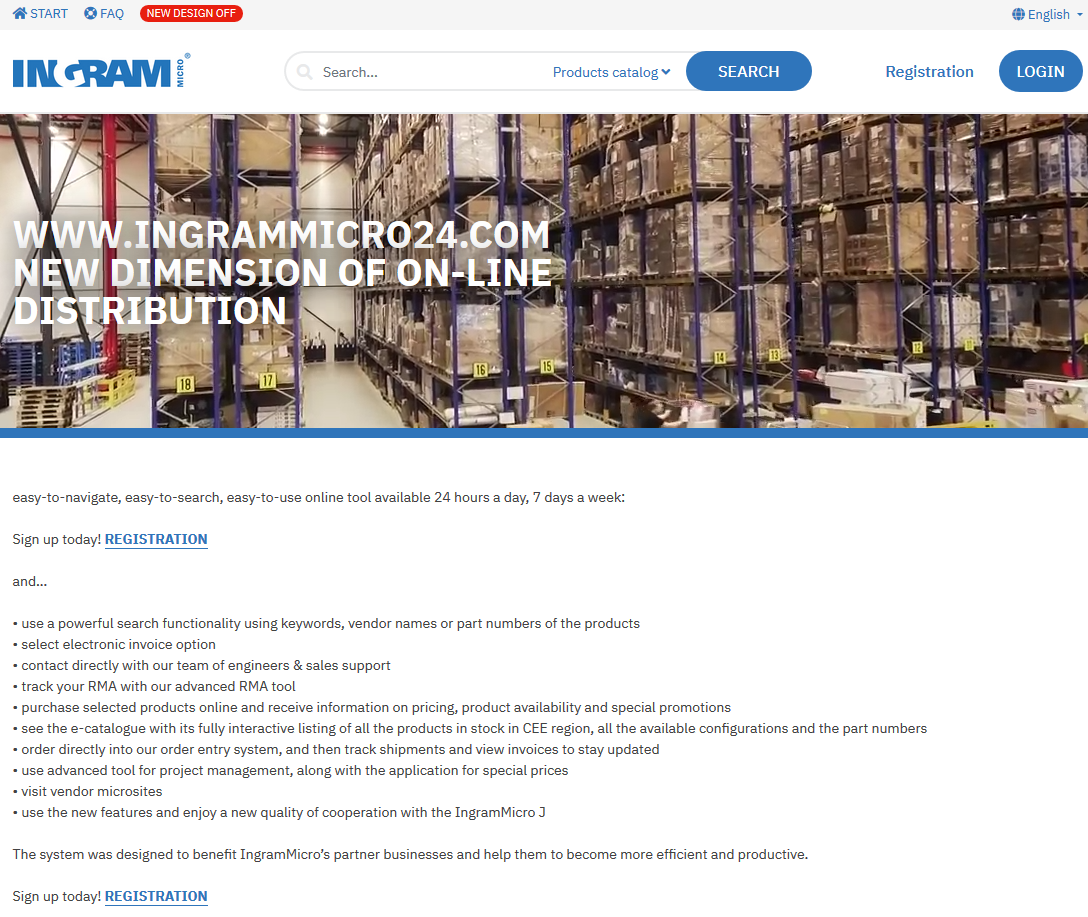
Registration with ingrammicro24.com for private and corporate users
Before you begin…
Read about the essentials of registering with the portal:
- You can register only on-line, within the portal.
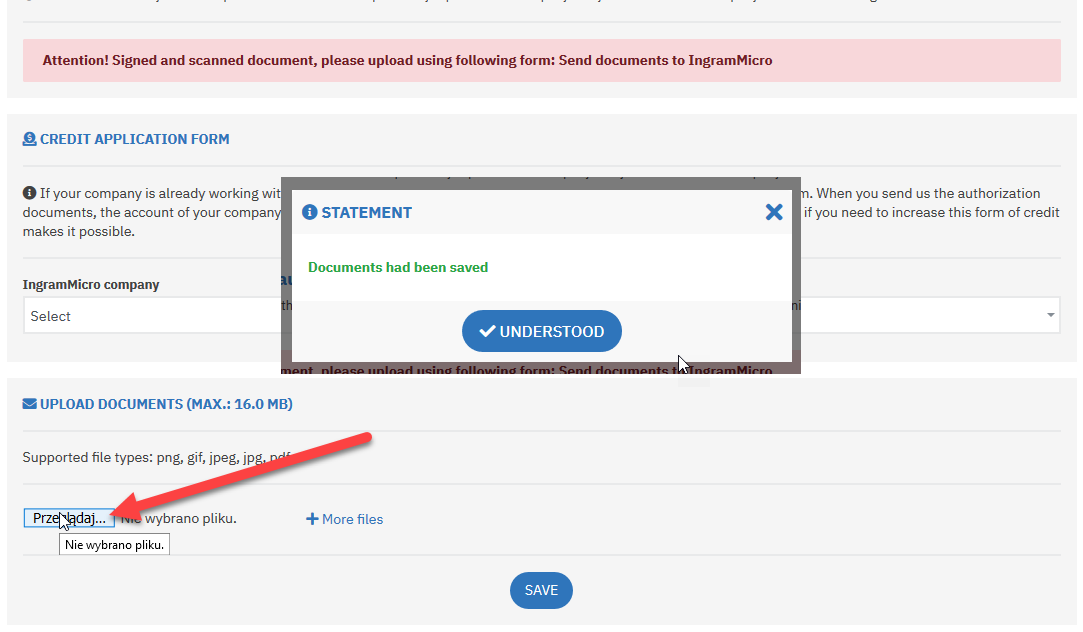
- Save your document scans to the portal (do not send them by conventional or electronic mail).
- The corporate administrator is the person authorized to carry out all activities for his/her company. These are described in the authorization document (point 11).
- Each company can have only one administrator. If you are not this person, do not complete the authorization.
- The company cannot use the portal without the administrator. Its employees will be blocked and unable to do anything.
1 - Registration
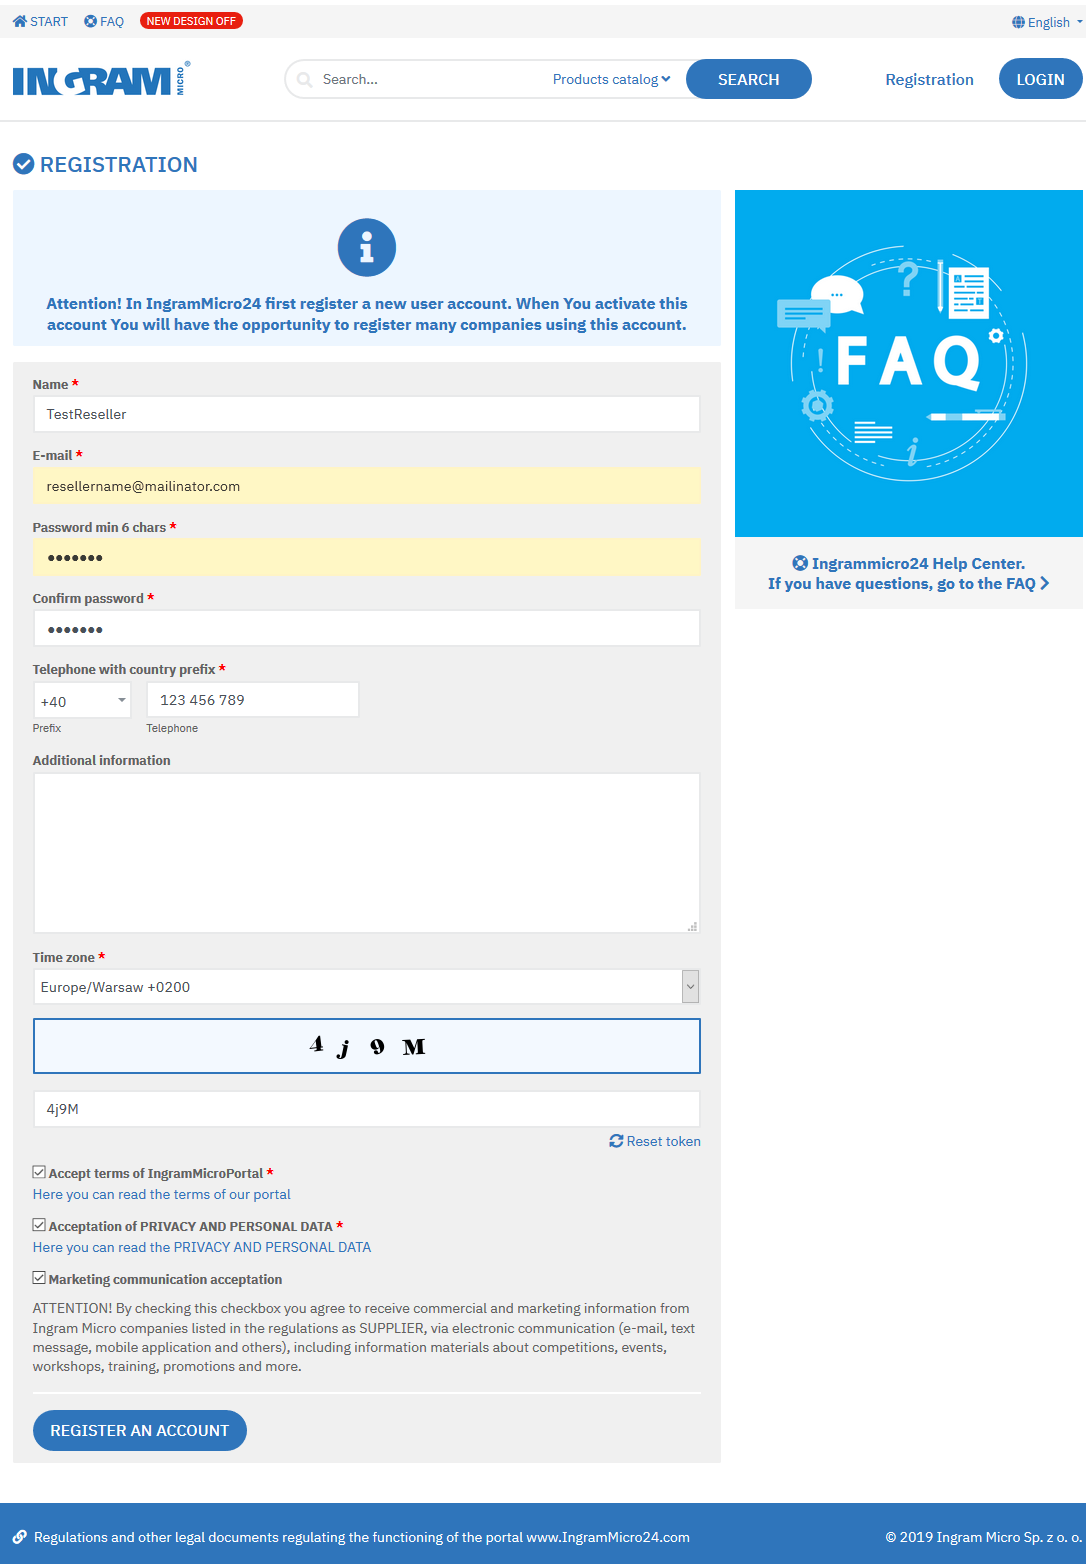
2 - Enter your data in the form.
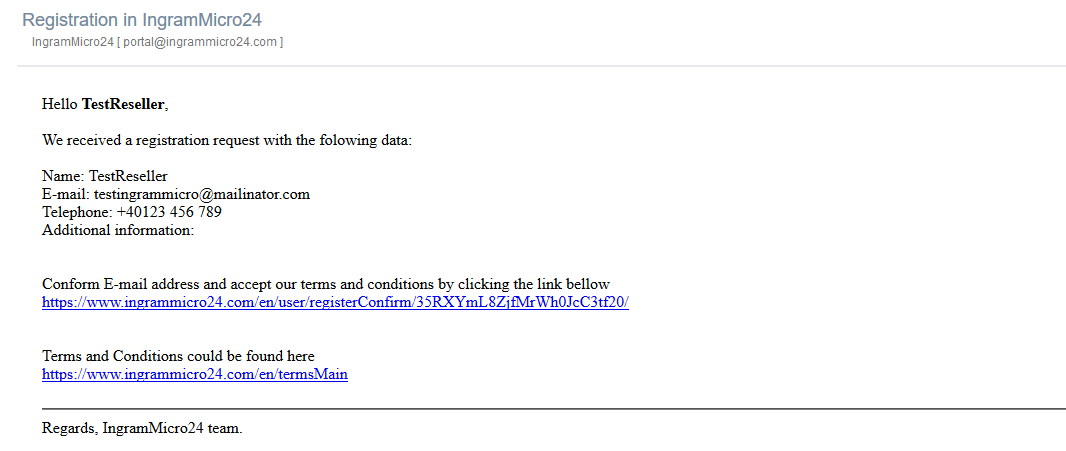
3 - You will receive a confirmation and an activation link sent to your specified address.
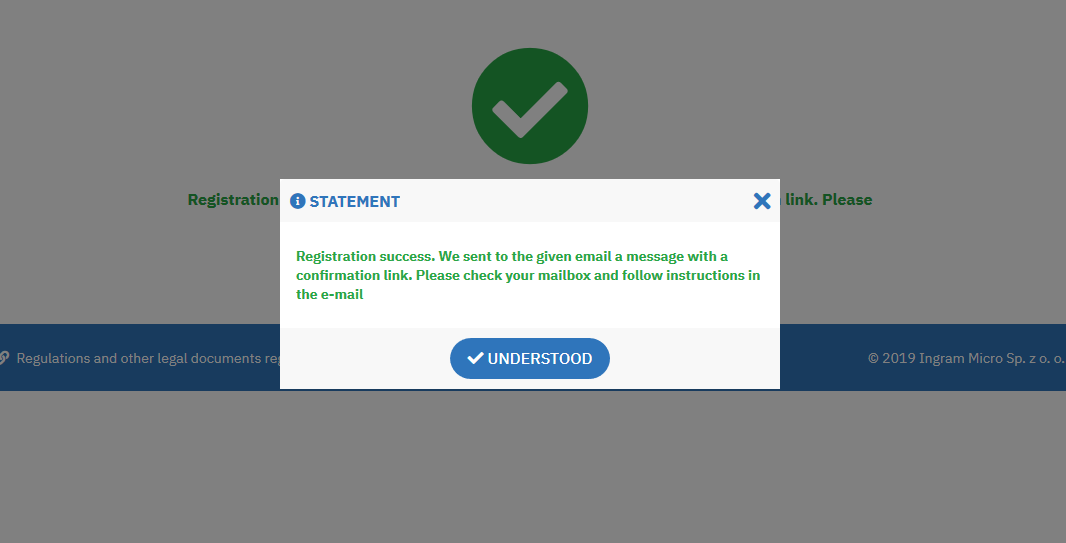
4 - Confirm the registration by clicking the activation link.
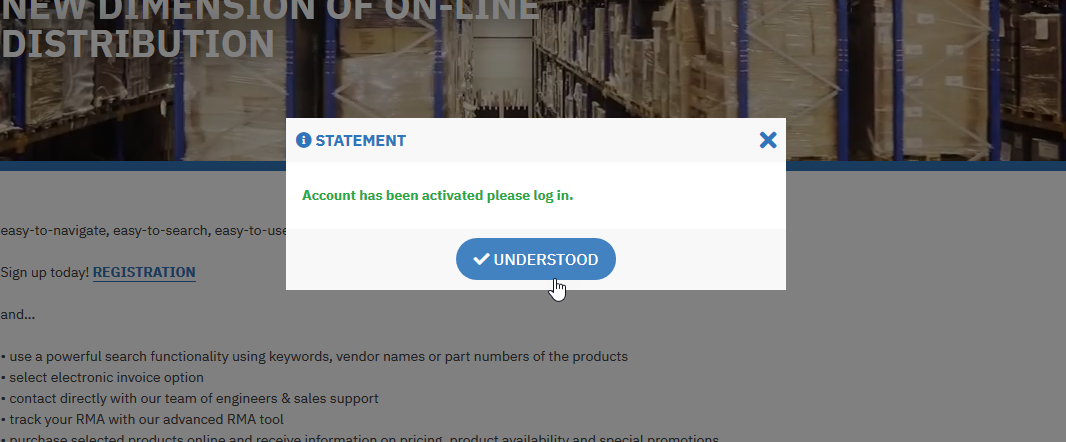
5 - The registration has been confirmed. Now you can log in.
6 - Marketing communication.
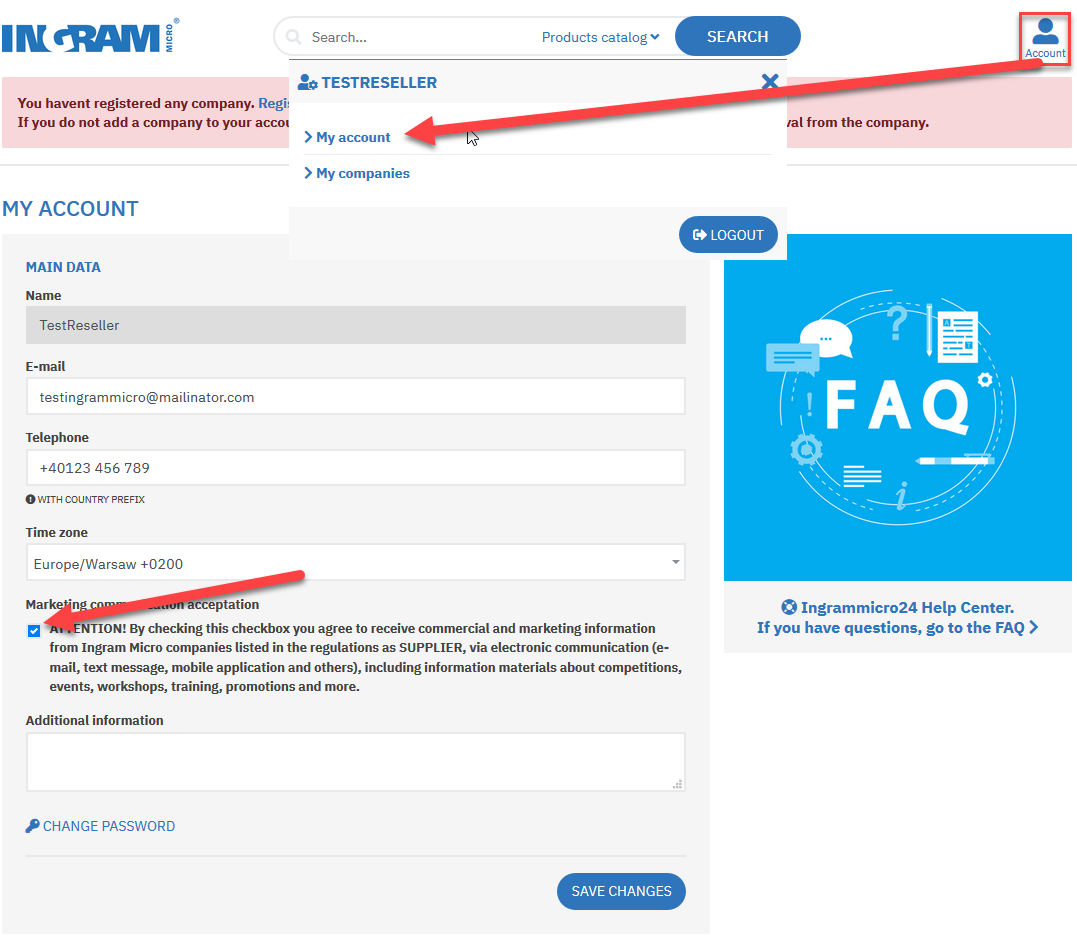
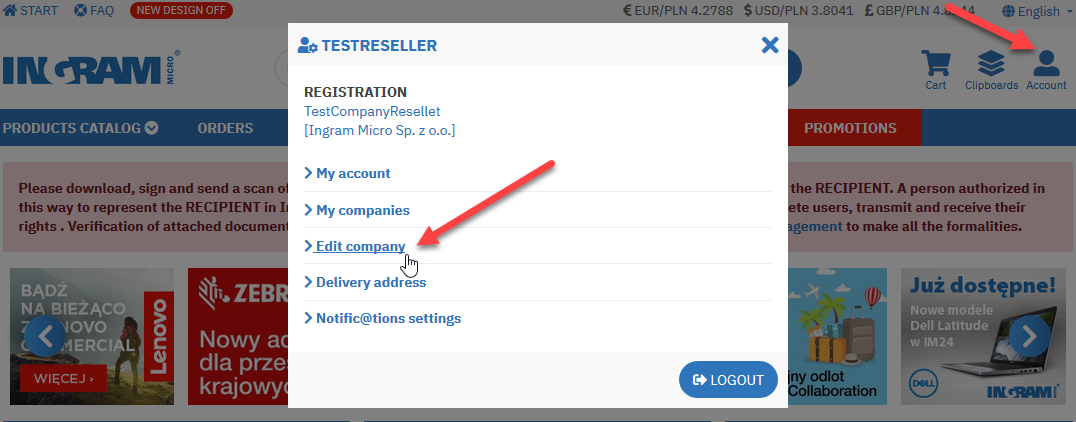
7 - Select the ADD COMPANY option by clicking the following link.

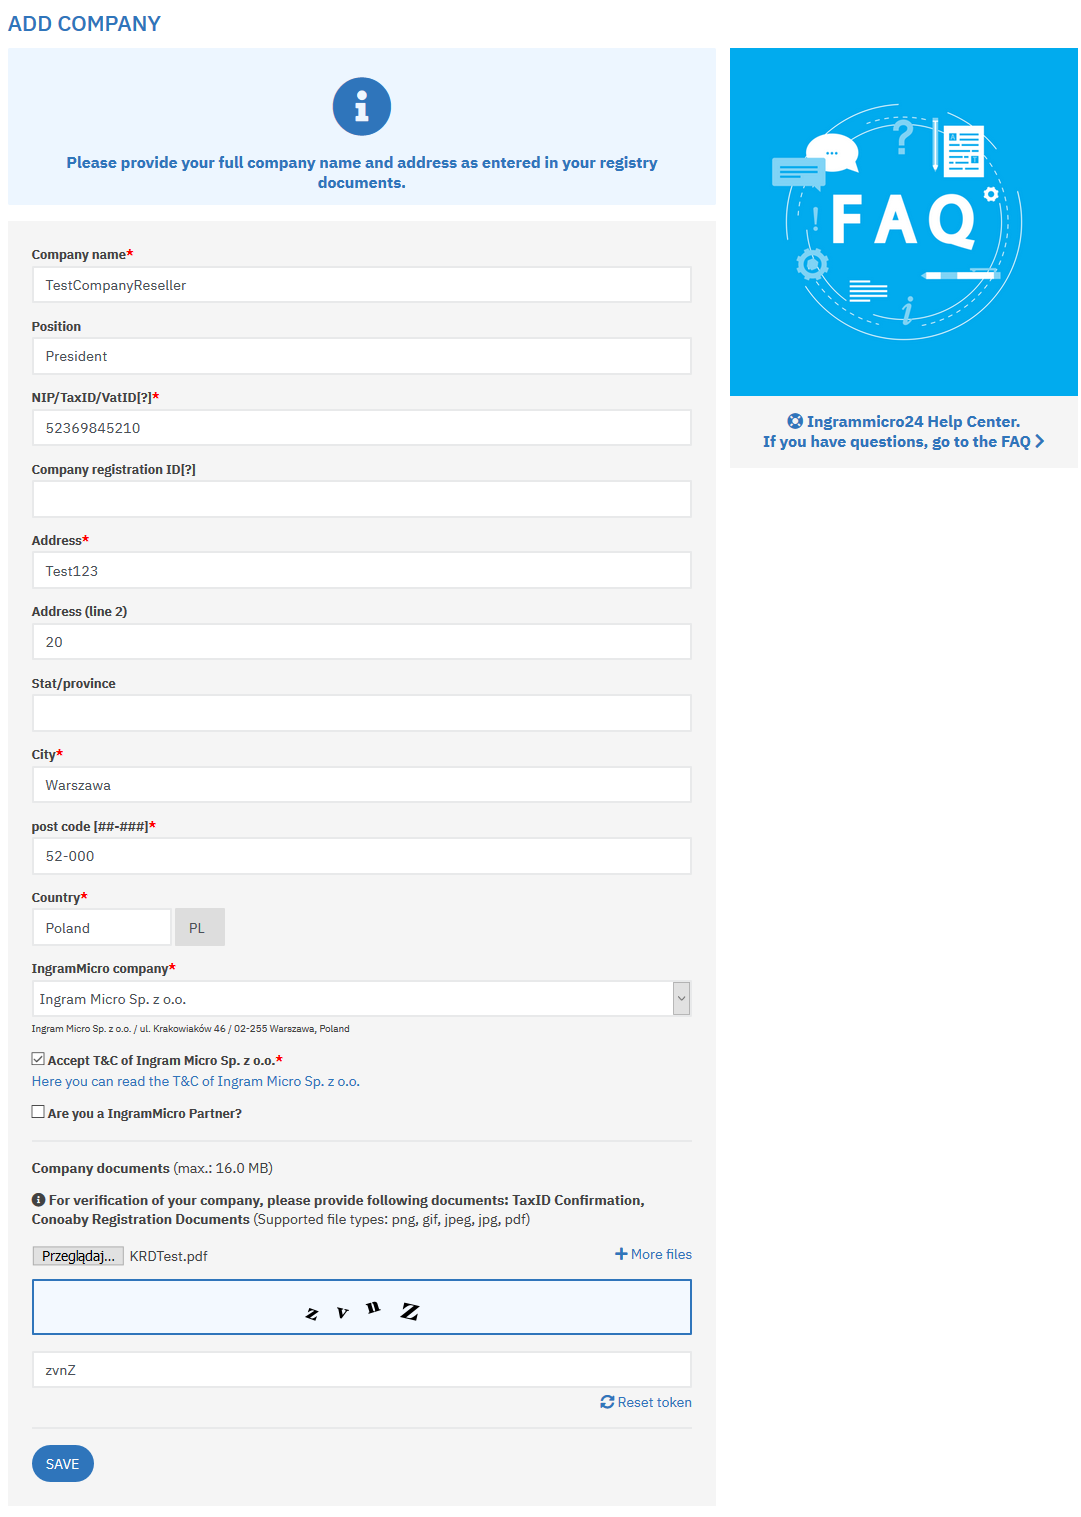
8 - Complete the details of your company and enclose the registration documents.
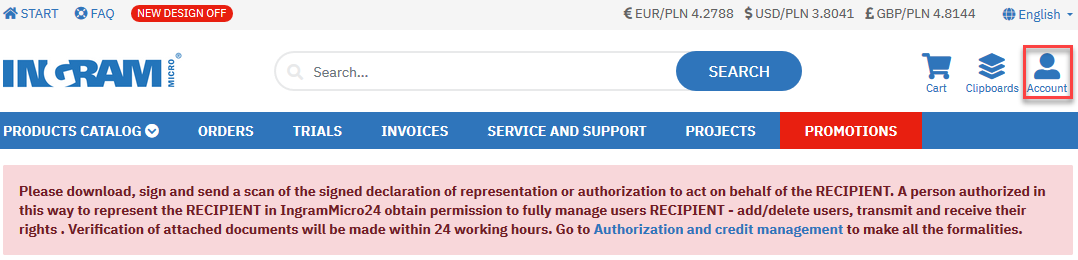
9 - Your company has been registered. You will be prompted to send the authorization.
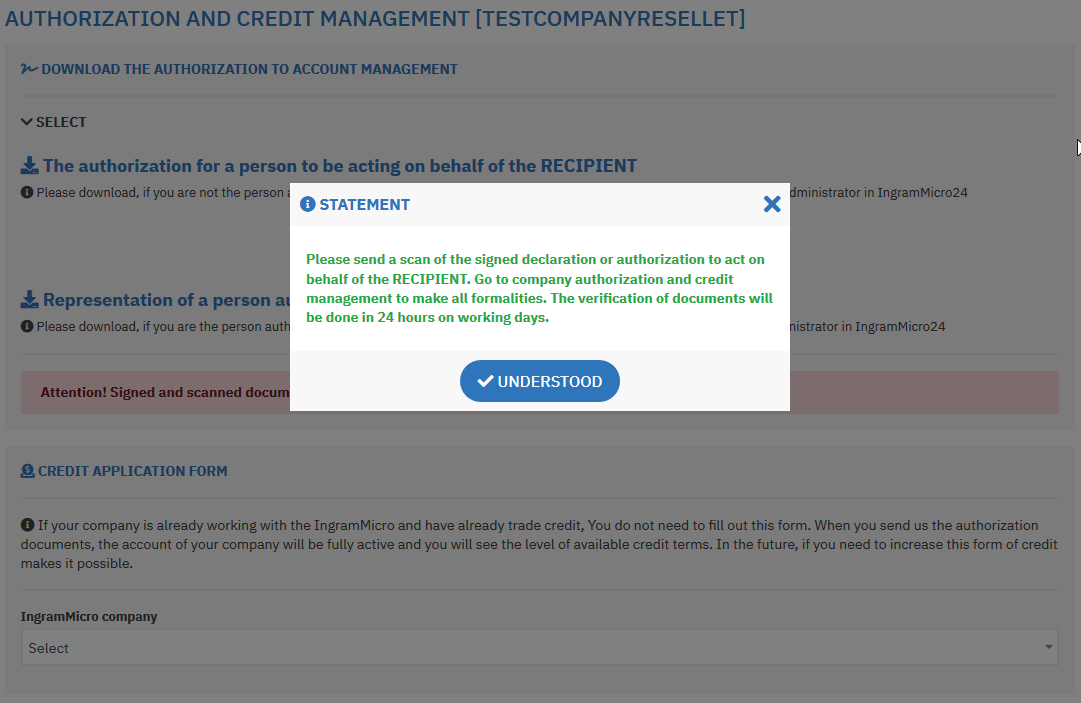
10 - Download the authorization by clicking the link.
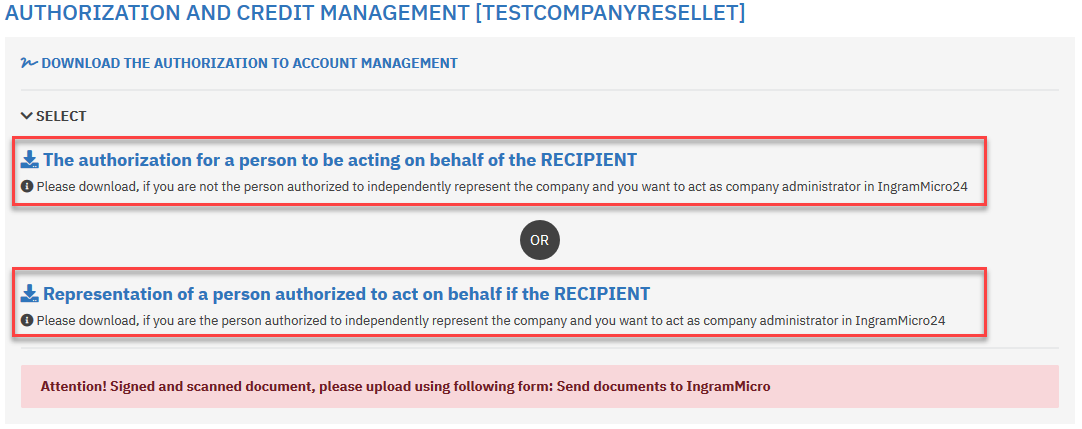
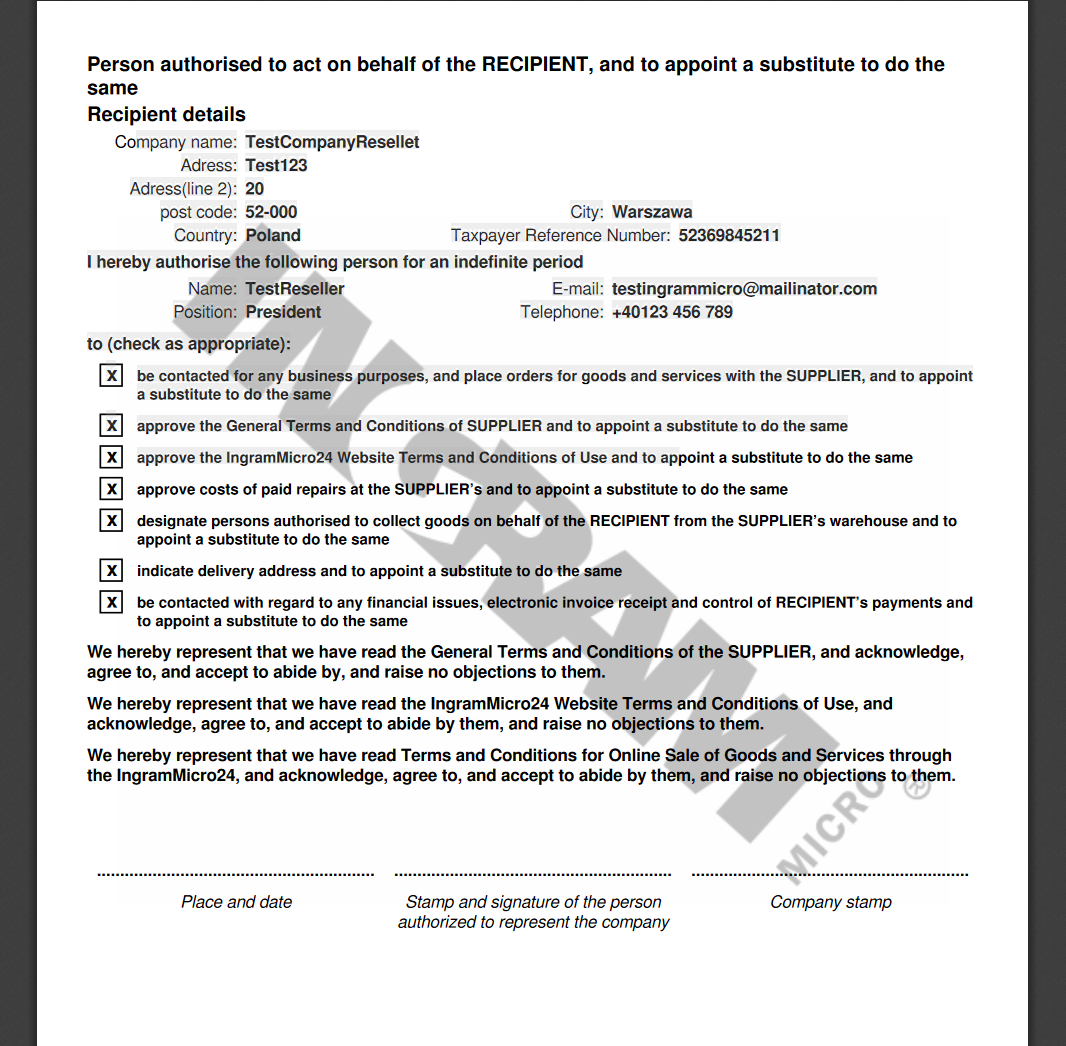
11 - Sign and seal the authorization.
Any employee of your company can represent it but the document authorizing him/her to represent the company has to be signed by the owner.
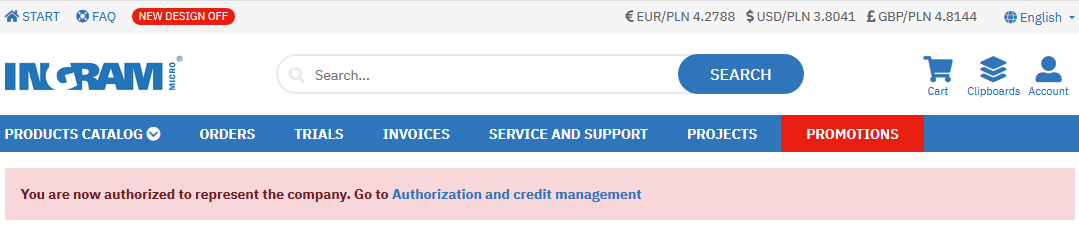
12 - Wait for the acceptance of the authorization.
Now you can edit the details of your company. Go to the Address Book.
13 - Complete the details of your company.
Go to the COMPANY USER MANAGEMENT section.
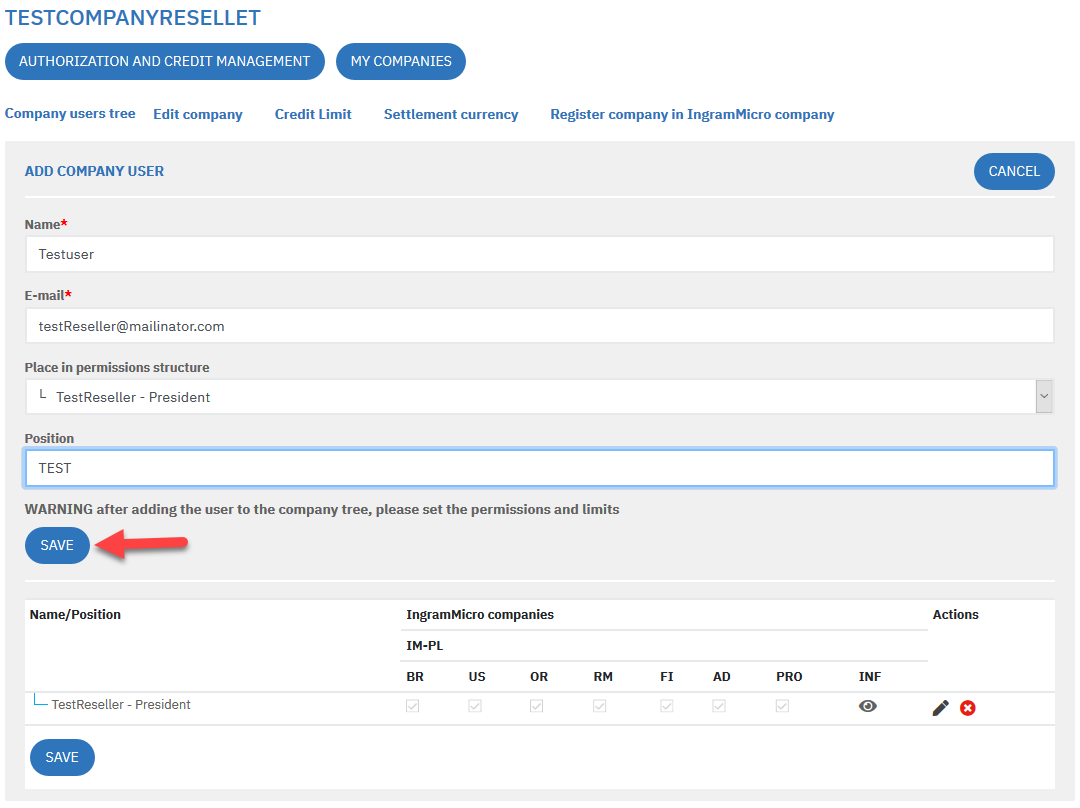
14 - Create a list of the employees of your company.

15 - Enter the data of employees.
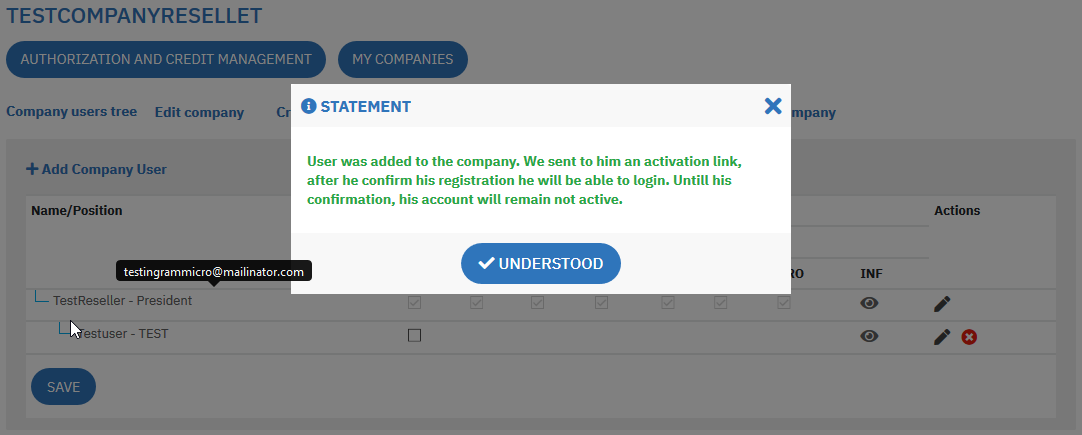
16 - The employee whose account you have created will be notified by e-mail.
The employee has to finalize the registration by providing data specified in point 2.
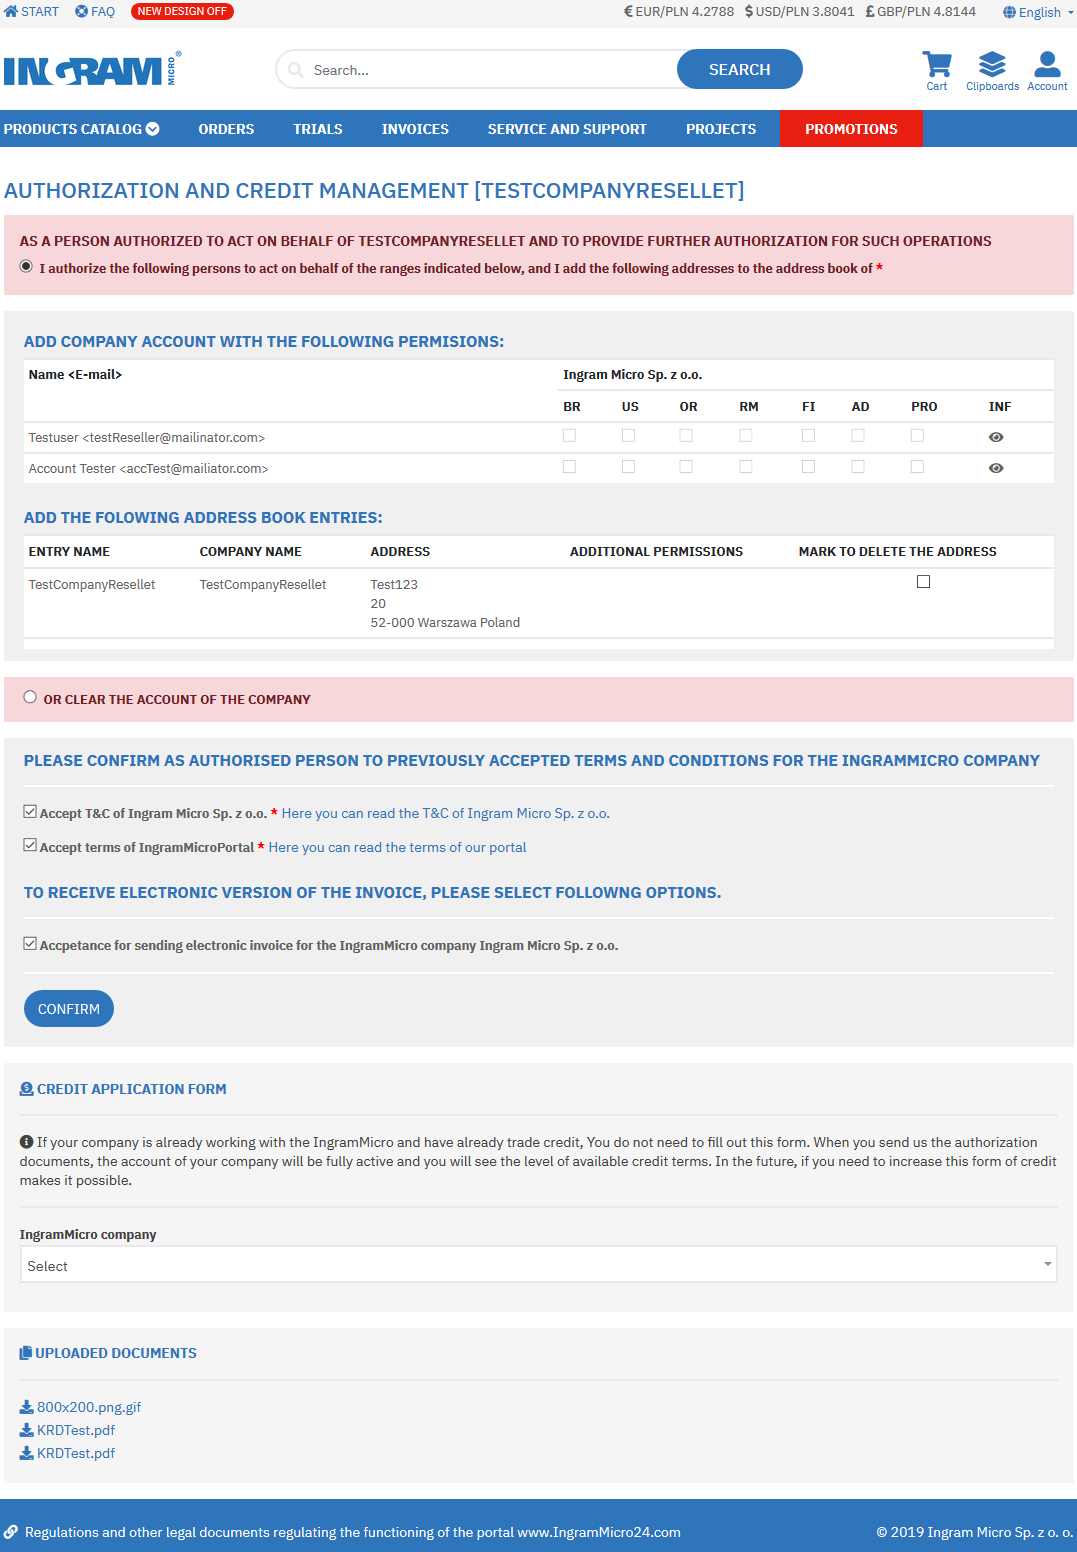
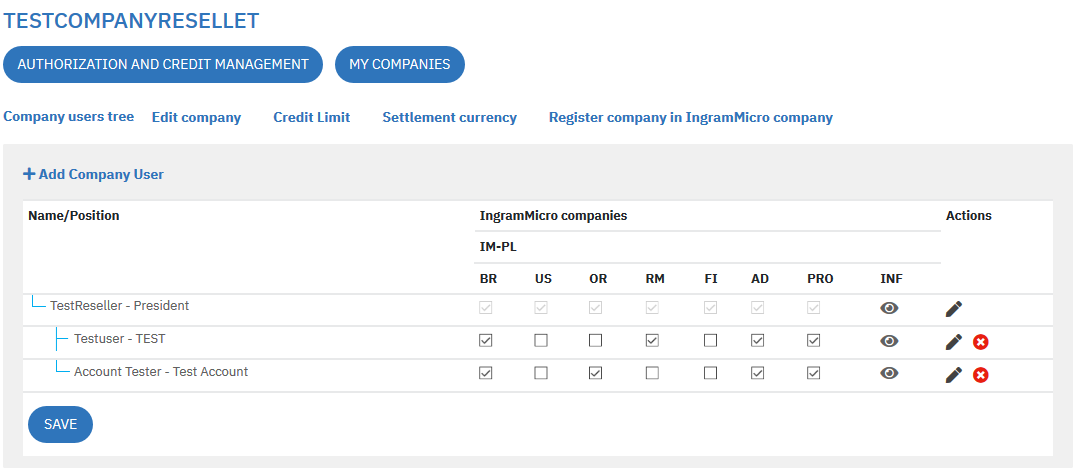
17 - Grant of rights.
The person authorized grants rights to the company employees. Point at a column header to see a detailed description of the column.
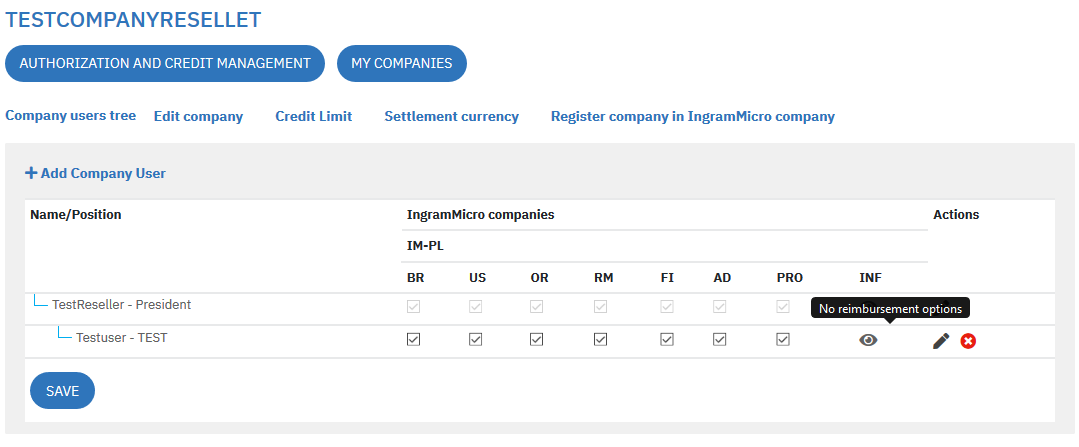
- BR - Access to registration within a branch
- US - Company user account management
- OR - Right to place orders on behalf of the company
- RM - Access to the Service & Support module
- FI - Financial authorizations (view access to all invoices)
- AD - Right to add addresses to the Address Book
- PRO - Corporate project administrator
18 - You can create a hierarchy by assigning employees to their superiors.
(Point 15: position in the authorization structure)
19 - Company Administration menu.
Once you complete the registration, wait for the authorization. If you have completed all the documents correctly, your company will be activated in the database. Finalize the authorization by clicking the link.
Check your address details. If everything is correct, check the “Perform the following actions” selection circle. If you want to start from scratch, select the “Clear the company account” option. Accept the General Commercial Terms and Conditions and the Policy. We encourage you in selecting electronic invoices. Click “Confirm” and now you can use the full functionality of the service.
Sprawdzamy swoje dane adresowe. Jeśli wszystko się zgadza zaznaczamy kółko przy „wykonaj poniższe operacje…”. Jeśli chcemy zacząć od nowa to wybieramy „Wyczyść konto firmy…”. Akceptujemy OWH i regulamin. Zachęcamy do wybrania faktur elektronicznych. Potwierdzamy i od tej pory możemy już w pełni korzystać z serwisu.